Business from all around the world are taking advantage of Facebook to build brand awareness at a very low cost, and considering that Facebook receive an average of 175 million daily visitors, setting up a Facebook Page seems to me as a must-have branding strategy.
The odd thing is that while many companies seem to get it right straight away, many others miss on very simple details, which in turn can actually positively improve how people perceive their brand in great length. I’m talking about getting a custom Facebook Page URL.
Take a look at this two URLs, which one would strike you as better branded?
http://www.facebook.com/vellest/100433900032368http://www.facebook.com/vellestThe second URL has a much better branding without the random numbers, don’t you think?
So, how to get a custom Facebook Page URL? Actually, there’s no much secret on how to accomplish that, but just in case I’ve put together a easy step by step to help you out.
Customise Your Facebook Page URL
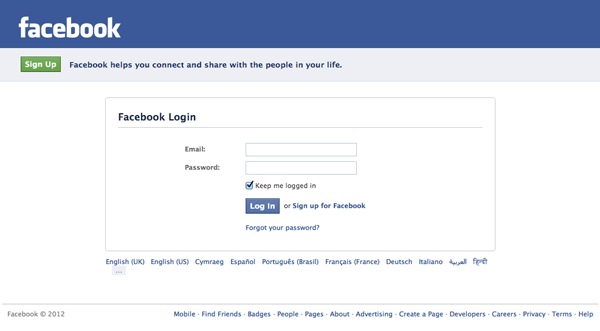
Step 1. Login to Facebook.

Make sure to login using the Facebook account with admin access to the page you are looking to update. If you don’t have admin access to the Facebook Page, you can’t change its URL at all.
Step 2. Open your Facebook Page.

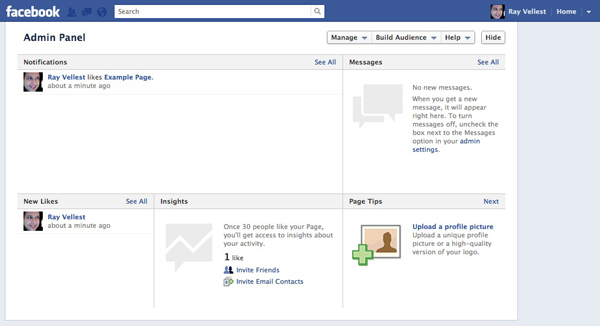
Click on the “Admin Panel” button located at the right upper conner, as show by the picture above, and load the admin panel, as show by the picture below.

Once you get here, click on the button “Manage” and select the option “Edit Page”.
Step 3. Open your Basic Information settings.
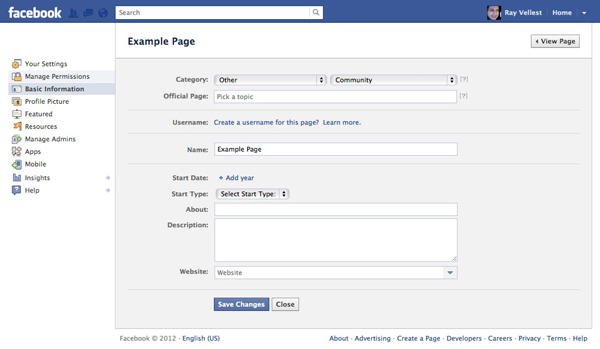
Once in the Edit Page area, click on the “Basic Information” link located at the left side of the screen, to open the following settings area.

Click on “Create a username for this page?” to get to the next screenshot.

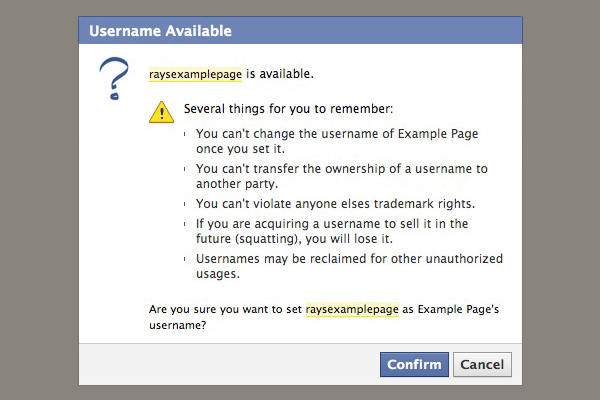
Now all you need to do is to type your brand name, and your username will be used on the Facebook Page URL using the following structure:
http://www.facebook.com/usernameStep 4. Confirmation!

Make sure to take extra care while typing your brand to prevent misspelling, as you can save you from big trouble. Once a Facebook Page username is set, it can’t be changed!
I hope this help you to get a little bit more juice from your branding efforts over Facebook, and if you like this tutorial, please consider liking Vellest’s Facebook Page too. Thanks! 🙂
